Hi readers, this is one more different tutorial from animhut regarding photo manipulation. In this tutorial we are going to see how to create a party ball style photo-manipulation. Okay now let’s go into the tutorial and hope you all enjoy it.
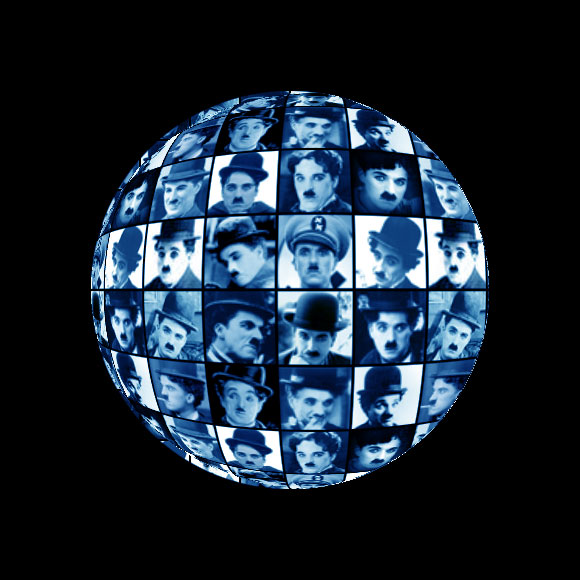
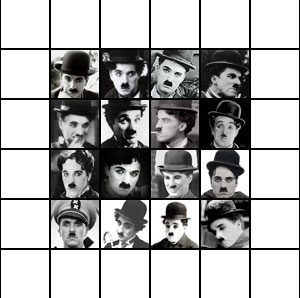
Preparation: First of all collect 16 pictures or photographs of related subjects so that we can have a theme in it. I have collected 16 Charlie Chaplin pictures.
Preview
Step 1
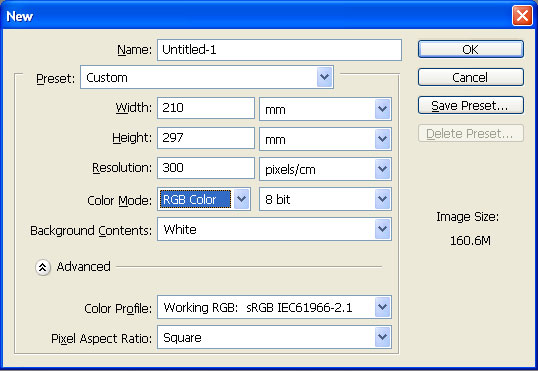
Open an A4 size document with 300 pixels/cm resolution.
Step 2
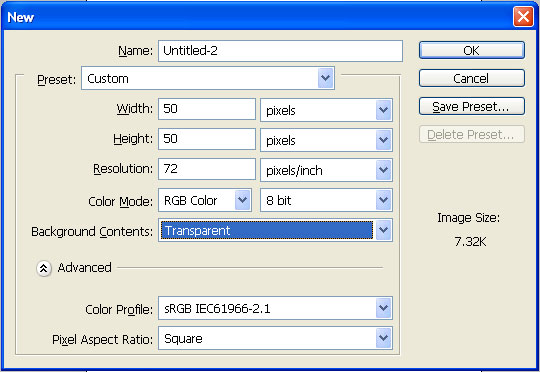
Now open one more document of size 50 px X 50 px of 72 pixels/inch resolution and transparent background.
Step 3
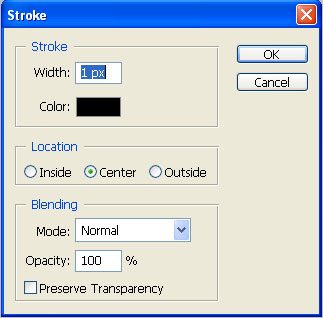
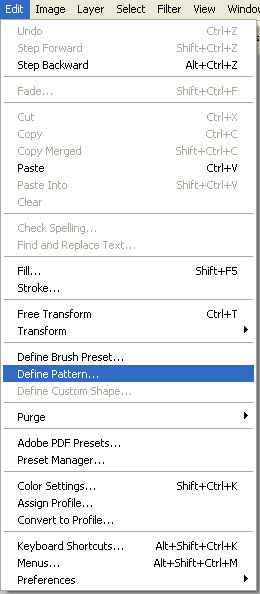
Press Ctrl+A to select the entire area and now go to Edit->Stroke and the Stroke dialog box opens up. Choose black color in it and center in it of size 1 pixel. Then go to Edit->Define Pattern and save it as a pattern.
Step 4
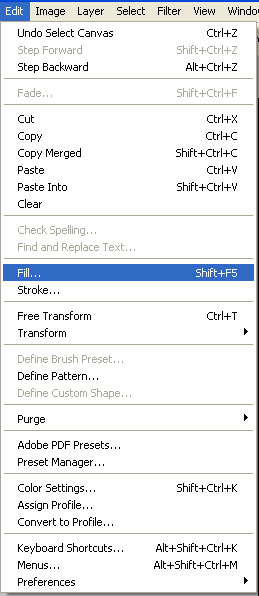
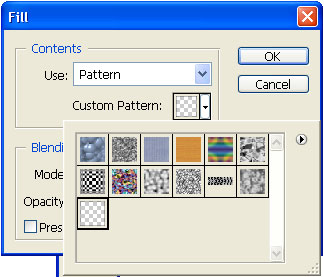
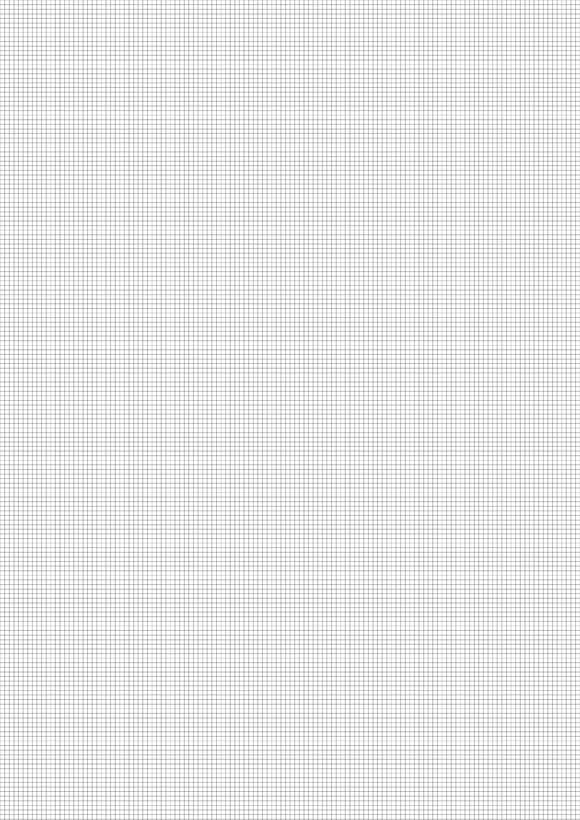
Now open up a new layer in the A4 size document. Go to Edit -> Fill and choose Pattern fill in that and choose the pattern that we have created now.
Step 5
Now open all the 16 photos you have collected. Take the crop tool. Select 48 px X 48 px with 300 pixels/cm resolution and start cropping them in square shapes.
Step 6
As you crop those images drag drop them into your A4 size document one by one and make sure that it each picture fits in each square box like this. You must place them in 4 rows and 4 columns such that all the 16 pictures are fixed in 16 squares.
Step 7
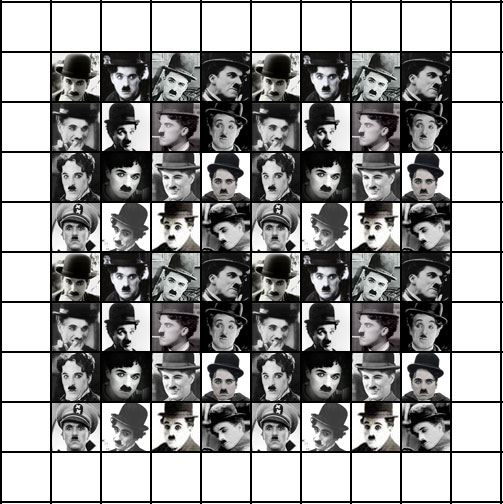
Now group all those picture layers together. Then take 4 copies of that group and place it in a manner such that you are able to fill 8 rows and 8 columns totally filling 64 squares.
Step 8
Now take a copy of all those groups and merge them together into one layer and hide all other groups including the background.
Step 9
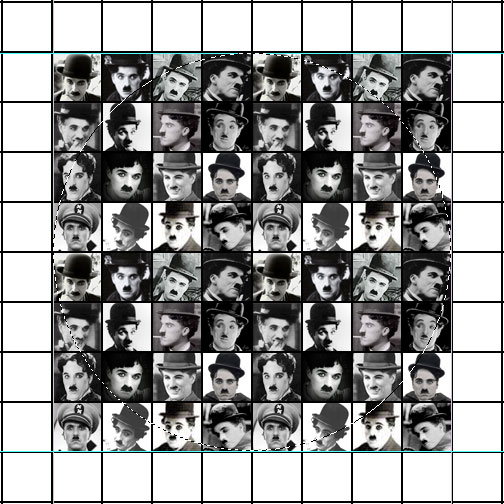
Now select the merged layer. Make a perfect circular selection suct that it touches all the four sides of the square box that has been filled with pictures.
Step 10
Now press Ctrl+shift+I to make invert selection and delete rest of them. Once again press Ctrl+Shift+I to come back to the same circular selection.
Step 11
Now go to Filters->Distort->Spherize and give the following settings. Amount: 100, Mode: Normal
Step 12
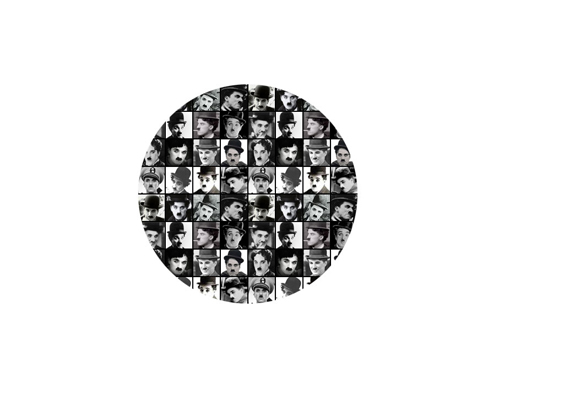
Now go to Image->Adjustments->Desaturate and desaturate that layer. Then create a new layer above it and fill it with blue color completely and the change blending mode to color.
That’s all you have created a party ball style photo-manipulation.


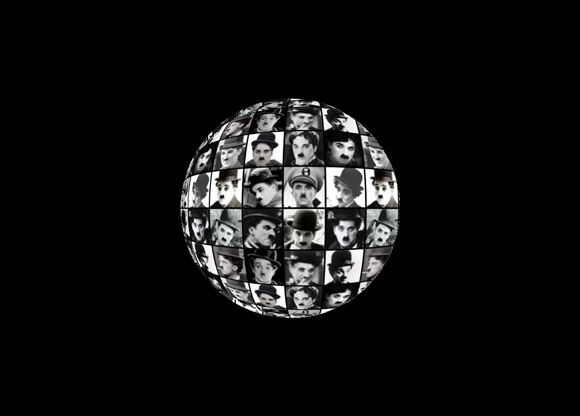


what a great idea for a tutorial.
Thank you Jared. Thank you for your comments and continuous support.
Congrats:) Very good tutorial:)
Thank you adone. Thanks for your comments.
superb……..
thank you vasu. happy that you visit animhut regularly.
Simple and useful, nice tutorial 🙂
Thank you fandy. Your website ArtfanDesign and posts in that also rock.
Nice tut!
Nikola has returned after long time. thank you.
Good idea… U might want to work on the shadows and highlights a little more (using burn and dodge tools respectively)… to get a realistic feel… because it appears very 1-dimensional =)
Good work though!
Richie is also back after some time. Yeah as you told i must have highlighted the top right corner so that it gives more 3d effect.
Very Good Tut, mate!!!
Hi rocky, thanks for the comments and everlasting support.
really cool tut.
Thank you Tutorial Lounge. Yuor last post about 40 best resources to get photoshop updates was very useful.
hey very good tutorial bro….
I find the tutorial really interesting,.I just basic in photo editing and i will try this tutorial later on. the image is really cool thanks for imparting it buddy 🙂
thank you dennis. stay in touch with animhut for more of these kinds of stuff.
Very useful technique. And it’s not that complicated to do. The only part that requires more work is cropping the pictures and positioning them in the squares.
Will be useful. Thanks.
Wow absolutely brilliant great inspiration ,Thanks for sharing this useful tutorial here with us .
Such a great tutorial very helpful indeed. I just tried it on my photoshop and I was able to get it using your tutorial.