In this tutorial we are going to learn how to create Vignette photo effect in Photoshop in just 2 steps.
we wrote tutorial on Creating a vintage effect in 2 steps in our last post. And it was popular among readers, so here our post on photo effect in Photoshop in just 2 steps.
Vignette effect: these effects are occurred by often an unintended and undesired effect caused by camera settings or lens limitations. Later they are used in Morden digital word for design and photography to do creative effects.
More from Wikipedia:
In photography and optics, vignetting (from French “vignette”, pronounced /vɪnˈjɛtɪŋ/) is a reduction of an image’s brightness or saturation at the periphery compared to the image centre. The word vignette, from the same root as vine, originally referred to a decorative border in a book. Later, the word came to be used for a photographic portrait which is clear in the centre, and fades off at the edges. A similar effect occurs when filming projected images or movies off a projection screen. The resulting so-called “hotspot” effect defines a cheap home-movie look where no proper telecine is used. However, it is sometimes purposely introduced for creative effect, such as to draw attention to the center of the frame. A photographer may deliberately choose a lens which is known to produce vignetting to obtain the effect, or it may be introduced with the use of special filters or post-processing procedures.
[xyz-ihs snippet=”beta”]
How to Create Vignette Effect in Adobe Photoshop
Final preview:
Step : 1
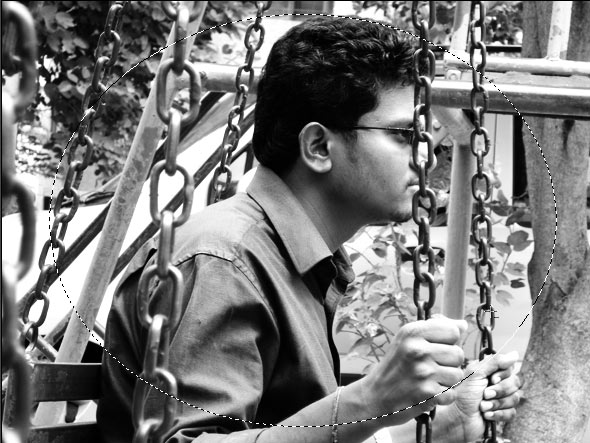
Open any image in Photoshop, we have used black and white, you can use colour image also.
Step:2
Create a New layer [ Ctrl+Shift+N ] . Now select the Elliptical marquee tool { M } and feather option from 50-80px ( remember the feather option is according to your image ).
note: you can try rectangular marquee tool in some images.
Press { Ctrl+ Shift+ I } or select -> inverse and fill it with black color #000000 . You are done !! now is that easy.
Option step : Create a border
Create a new layer and press Ctrl+A and with the selection press Alt+S+M+C and give appropriate pixel value :20px here
[xyz-ihs snippet=”468t”]
final preview - Sipi Sagar.V
We have planned to make photo effect tutorial without Photoshop Action, so Stay tuned and Subscribe to our Rss Feed .
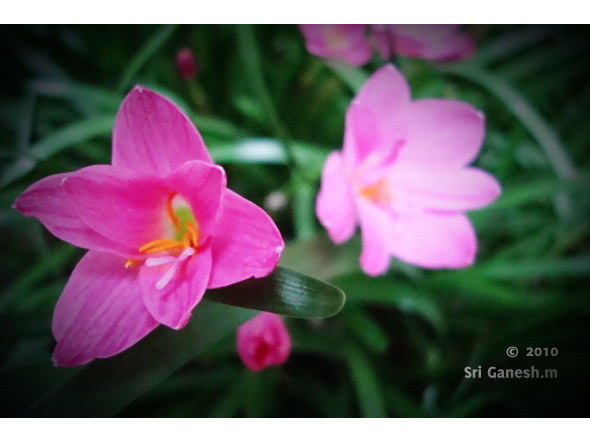
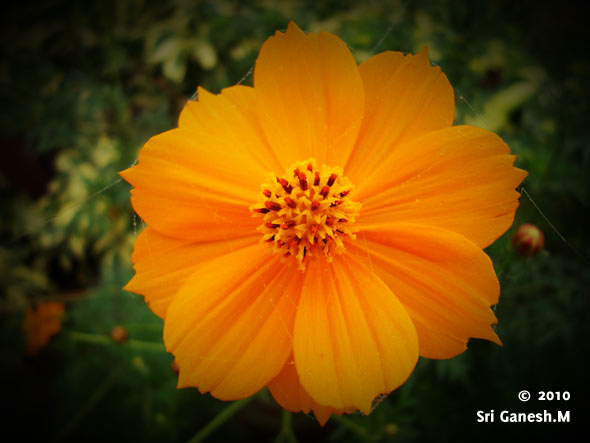
Some Examples:
Hope you like this tutorial , spare some time for vote and comment on this post!!


Thanks for the tutorial. BTW who is the guy in the picture?
.-= Ricky @twitter apps´s latest blog ..Download Kaspesky Mobile Security 9 With Legal License Key For Free =-.
thats ,my friend Sipi sagar. and another person in the photo is Karthickayen (authors)
both are friends and classmate 😀
nice and easy, thanks!
.-= Nikola Lazarevic´s latest blog ..Things Designers Can Learn and Be Inspired by Biggest Tennis Tournament Wimbledon =-.
Easy yet very effective…I like it!
.-= Claudia´s latest blog ..Design Folio =-.
Good tutorial guys…. but the official way to create a vignette effect (based on realistic calculations) is by adding a Lens Filter which can be found under the Filter Drop down menu.
You can even set the focal length and depth using that filter.. Once your vignette filter has been created, just copy it onto your picture and set the blending mode to Multiply …….. just a thought 🙂
But as you said, this is quicker …Thanks for the tutorial btw 🙂
.-= Richie´s latest blog ..Unraveling the science behind the Photoshop Blend Modes – 1 =-.
this was really awesome great post and great tutorial
.-= julio Rivera´s latest blog ..Weekly Inspiration: 7 Design Agencies With Creative Projects – N.11 =-.
Great effect! Simple but still very nice. Please check out our site Zurte.com for interesting links about Photoshop. I think you guys will fins a lot of nice Photoshop tutorials at our site: http://zurte.com/?s=Photoshop
Cool – vignette effect is really cool.
Hey thanks real cool effect,
nice effect buddy
Thanks! I’m used to doing this all the time in Final Cut Pro , but going back to Photo Shop it was a challenge – till I discovered your tutorial – thanks!
Lovely Work Anna !
super sir i have oil paint fillter sir pls