Every one like to change modern images into old photo effects, there are few names mentioned them- one is Vintage photo effect. Today we are going to learn vintage effect in just two steps. From our last post on quick tip has given a great success and so we try our best to make tutorials within 5 steps!! In each category!
I have included a Optional step to give you a change to play with layer mode!!
From internet you can find many tutorials to make retro and vintage effects, but this one is different from others, this tutorial mainly to accomplish on newbies and other non-designers who want their photo to make vintage effect in seconds – any suggestion ! hate ! love ! pass on to us.
Step :1
Open an Image in the Photoshop. You can have any type of colour Image.
Shortcut key : Ctrl+O | File-> open.
Now Duplicate the Original image by Ctrl+J and change the Layer mode to SOFT LIGHT
Preview :
Step : 2
Create a NEW layer Ctrl+N and fill the layer with #000d53
Preview :
Now change the layer mode to Exculsion
yes ! we are done ! is that simple and effective !!
Note: i hope you like this effect !! There is different way to create a retro and vintage effect. We will give you more quick tip in future post.
Optional step :
Create a border
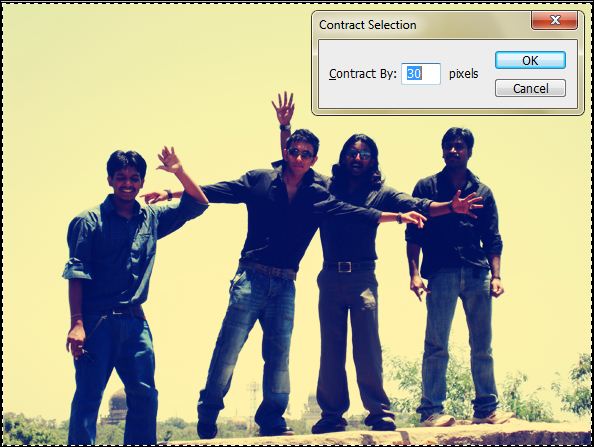
create a new layer and press Ctrl+A and without deselction press ALT+S+M+C for contract selection and give appropriate value according to your image size. Here i gave 30 pixel.
– you will get perfect rectangle according to your image. Press Ctrl + SHIFT + I
You can see a border rectangle selection, fill it with black or white.
Comments are appreciated !


Nice one Ganesh. Really looks like Subramaniyapuram movie style.
Good tutorial. Stumbled!!!
.-= Ricky´s latest blog ..Vodafone Brings iPhone 4 To India =-.
thanks for the Su vote up brother 😀
Lovely tip!
.-= Nikola Lazarevic´s latest blog ..When Creativity Meets Minimalism: A Collection Of 30 Minimalistic Advertisements =-.
thanks nikola
very simple tutorial. looking vintage like exactly
Nice tutorial, it is giving feel like I am in 60’s lol
.-= suraj´s latest blog ..Photoshop Tutorial: Icy effect to Text =-.
yes, this is a quick tip, soon we write how to make retro and vintage in detail
Cool Tip! Thanks!
thanks for the comment holly
This is simple yet very useful. Thanks.
that was quick, thanks
Thanks for post, these seem very helpful tutorial for retro style!
nice and easy steps 🙂
Ganesh, It was simply the best tutorial i have ever read!! M Surely gonna try this!!