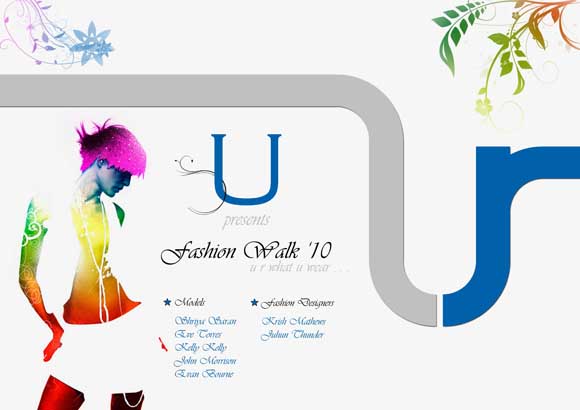
Hi and hello to everybody. Today’s tutorial is regarding how to create a striking poster for a fashion show. You can use this even for your college cultural program. This is simple yet good looking one. The steps that are involved in this tutorial are of much use.
Preview
Step 1
Open a new document of A4 size in landscape mode. Fill the background with “f5f5f5” this color.
Step 2
Drag drop guide lines like this. The difference between the vertical and horizontal guidelines should be 250 px.
Step 3
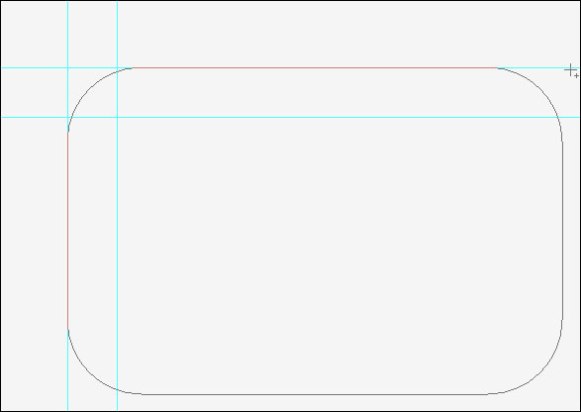
Take the rounded rectangle tool. Choose the paths option with 450 px radius and draw a rounded rectangle like this.
Step 4
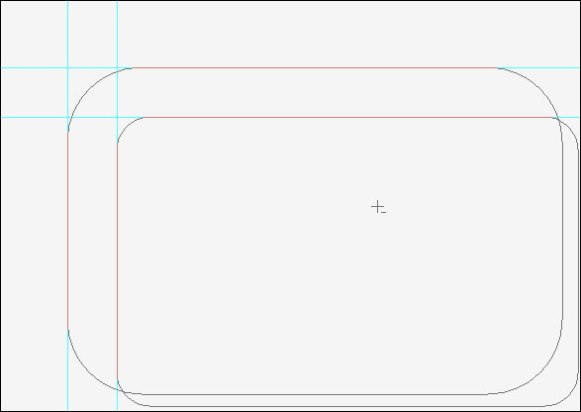
Now take the same rounded rectangle tool with the paths option selected and radius 200 px also with the subtract from path area option selected and create a rounded rectangle like this.
Step 5
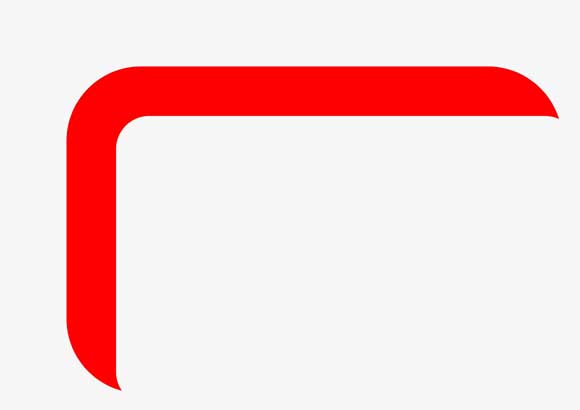
Now press ctrl+enter. An area gets selected. Fill it with any color you want.
Step 6
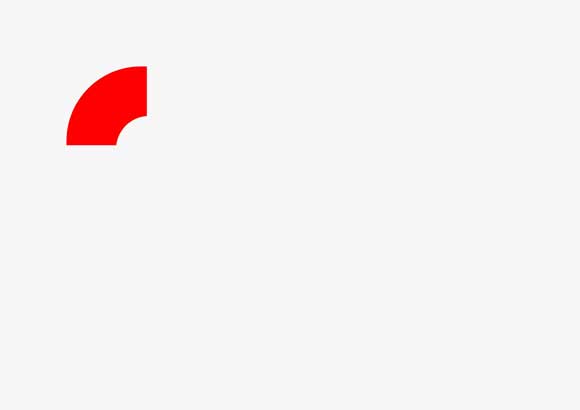
Now delete the extra areas such that only that curve area is left back.
Step 7
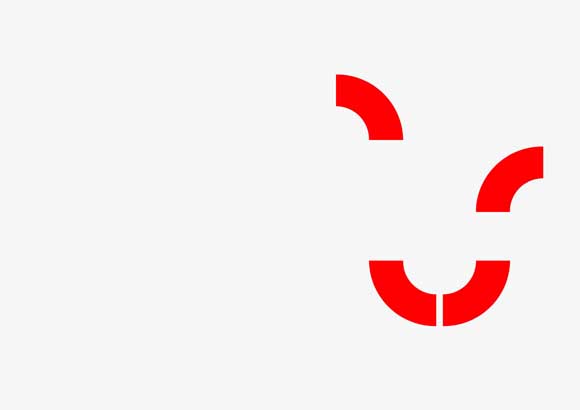
Now take 3 more copies of them and place them like this.
Step 8
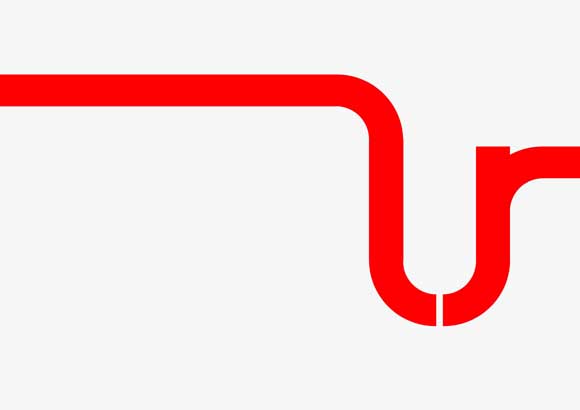
Now create some rectangles and fill in them like this. The width or height of the rectangle must match the thickness of the quarter circle or curves.
Step 9
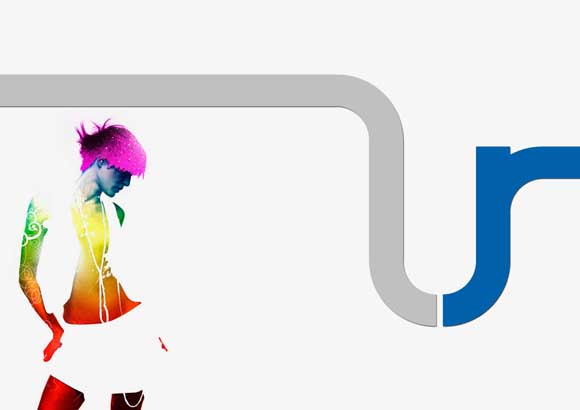
Now apply the following color overlay for the left side portion “bfbfbf” and the following color overlay for the right side portion “0062ad”. Then you must get something like this.
Step 10
Now take a copy of all the layers together. Merge them all together by pressing ctrl+e. Then apply drop shadow to that layer and leave it with default options.
Step 11
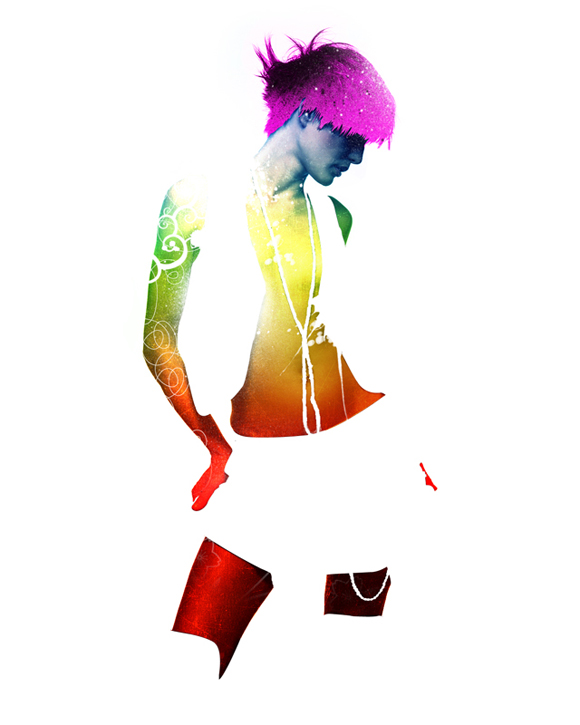
Now take the following picture and place it in this manner and change the blending mode of that layer to multiply.
Step 12
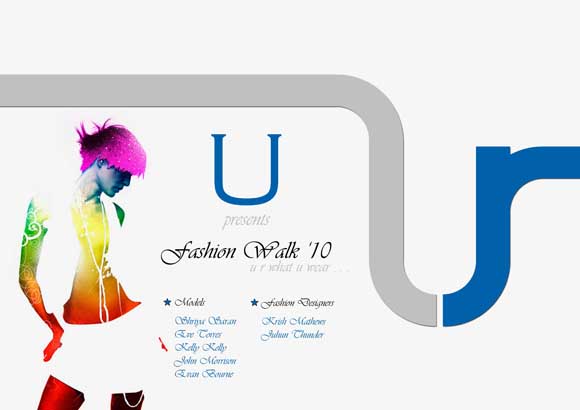
Now type the following text which contains the name and details of the fashion show.
Step 13
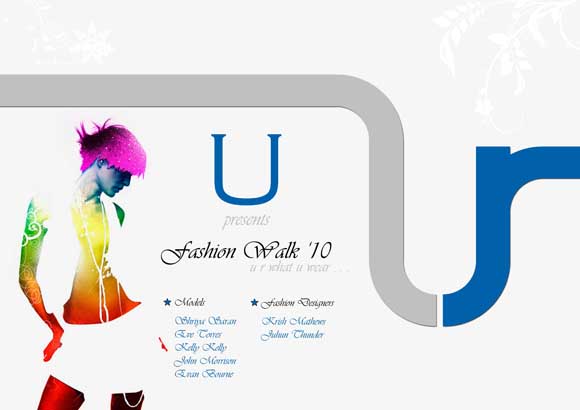
Now take some floral swirl brushes and apply it on both the top corners in white color like this.
Step 14
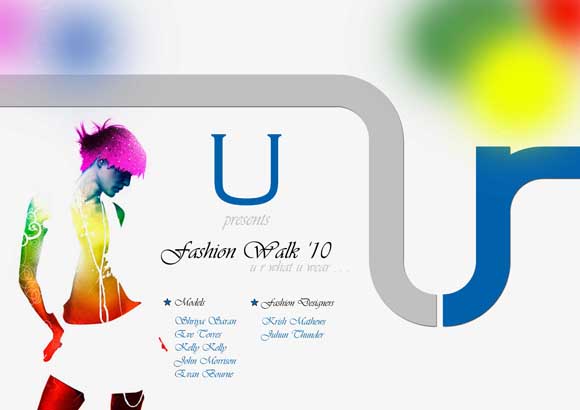
Now take a round brush from basic brushes and with hardness 0%. Take different colors using that brush and apply them on a separate layer above the floral swirls layer.
Step 15
Now hold ctrl+click inside the thumbnail of the floral swirls layer. Now press ctrl+shift+I to make inverse selection. Now select the layer in which we have applied the soft round brushes and press delete. Now you must be getting something like this.
Step 16
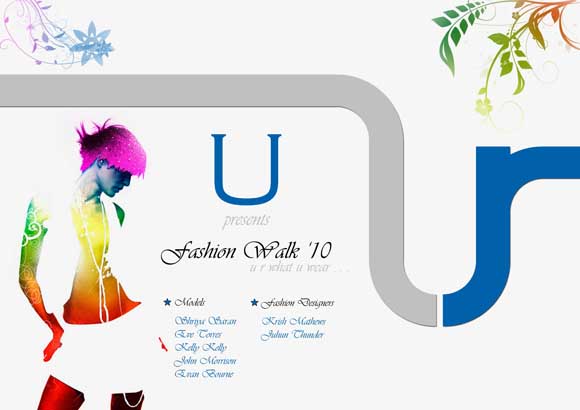
Now take a floral swirl brush and apply it around the letter U like this. To get this effect after applying the swirl hold ctrl+click inside the thumbnail of the U layer and press delete.
Step 17
Now place some fashion company’s logo as event sponsors like this.
Step 18
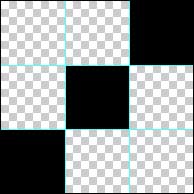
Now open a new document with transparent background of size 6 px X 6 px and create 3 squares of size 2 px X 2 px like this. Then select all together and save it as a pattern by going to Edit->Define pattern.
Step 19
Now come back to the original document. Create a new layer press ctrl+A to select all and then goto Edit->Fill. The fill dialog box opens up. Choose pattern option in that and select the pattern that we have created now and reduce fill to 30%.
That’s all dudes you are done with it.











so beautiful.. loved it to the core…
This is a great tutorial; I loved the colors over the model. Thank you for taking the time to create this tutorial, Sipi!